
Sergey Nivens - Fotolia
How to containerize legacy applications in an Azure migration
There are many benefits to containerization as part of a migration, but only for the right type of app. If you're moving to Azure, follow these steps to ensure it's a success.

The advent of technologies like Docker and orchestration layers like Azure Kubernetes Service make it possible to containerize legacy applications and migrate them to the cloud. This is attractive to many enterprises that want to modernize their IT stack, but they need to know how to do it properly.
There are many benefits that come with containerization -- portability, efficiency, developer agility, scaling and security. That's not to say that all legacy applications will work in a containerized environment. For instance, apps that rely on graphical user interfaces or full Windows environments should not be containerized.
As containers are usually "headless" -- i.e., without an interface beyond the command-line -- applications that require that type of user input do not work in container environments. GUI applications work best with VMs, as they provide a traditional Windows or Linux environment that a container cannot provide.
On the other hand, web applications, command-line tools, databases and services are the easiest and best candidates for containerization. These tools can easily run only on the command line and with a minimal Linux or Windows container environment. Go-based tools can even run on the scratch image (5 MB) in Docker, with some modifications, for an incredibly small runtime environment.
If you want to move your application to Microsoft Azure, there a few ways to migrate these types of applications. For example, let's say you have an IIS PHP web application running in an on-premises Hyper-V VM. You could take one of two migration paths:
- Migrate the VM using Azure Migrate to discover and migrate the VM into an Azure VM.
- Containerize the PHP application using a tool such as Docker, upload the image to the Azure Container Registry (ACR) and manage the container using Azure Kubernetes Service (AKS).
So, what do administrators need to know before they containerize legacy applications and migrate them to Azure? Let's dig deeper into the different avenues to see what these processes really entail.
Review traditional VM migrations
Before we consider how to migrate a VM into a container and then into AKS, let's review the traditional migration process.
First, open the Azure Portal, navigate to Azure Migrate and click on the Assess and migrate servers option.
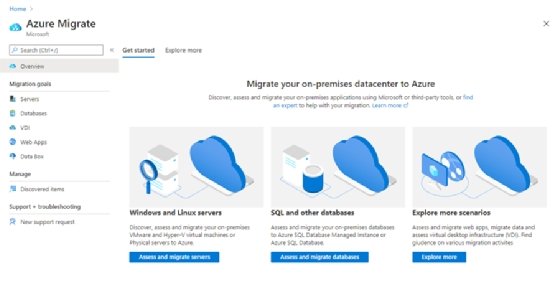
Click on Create project to get started. Enter the details in the overview pane, such as the resource group and name of the project. If applicable, select the assessment tool, such as "Azure Migrate: Server Assessment." Then, choose the migration tool, such as "Azure Migrate: Server Migration."
Under the Servers pane in the Migration Goals section, click on your newly created migration project and the Discover button.
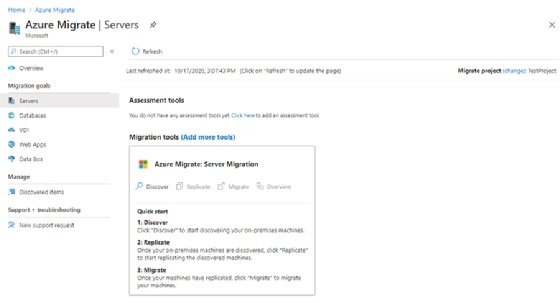
Pick your virtualization target, which in this example is "Yes, with Hyper-V," and then the target region. Confirm those settings and select Create resources to proceed.
Once the project has been created, you will gain access to a link to download the Hyper-V replication provider (AzureSiteRecoveryProvider.exe), which is installed on your target Hyper-V server. In addition, you will have a generated registration key import file.
Once you install the executable files and provide the key, the service will automatically connect to Azure and list the connected servers. However, until you hit Finalize registration, you will not see any VMs available for migration in the main Azure Migrate screen. The discovery process can take some time, so it is worth waiting up to an hour to make sure everything is found.
Once the servers have been finalized, you will have a list of discovered Hyper-V servers to choose from for migration.
Under the replication link on the migration tool, you can choose the settings and VMs for migration. Once you start a replication, the target Hyper-V VM will be migrated into the Azure environment as a traditional VM.
Containerize web applications
A traditional VM migration seems simple enough, albeit time-consuming. The downside is that you now have the same VM in Azure as you have in your on-premises Hyper-V environment. Plus, you probably have the same management headaches you experienced in the past.
Going back to that same on-premises IIS PHP application, you could choose the Azure Web Apps feature to move this application to a PaaS type service. But perhaps there are custom requirements or it's part of a larger application infrastructure and you would still like to manage the app as its own container.
Thankfully, most IIS web applications are just a collection of code, which makes it easy to create a Docker container for a PHP application. In this example, we are going to demonstrate using the trafex/alpine-nginx-php7 container.
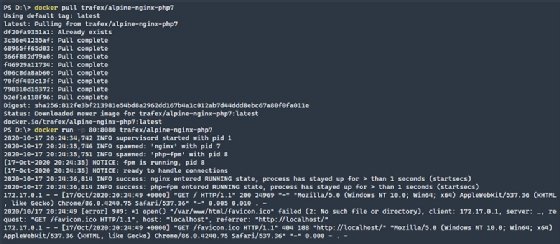
If you navigate to the localhost address, this shows that the container is mapped from port 8080 on the container to port 80 on the local computer and shows a phpinfo() command.

Migrate the containerized application to AKS
To then migrate this container to AKS, the first step is to spin up an AKS instance.
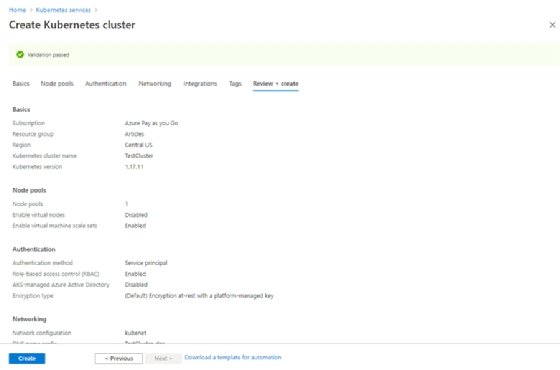
Navigate to Kubernetes services and click on the Add > Add Kubernetes cluster option. This example cluster is being created with low resources. Production instances should be available in multiple zones for control plane redundancy. They should also contain multiple nodes.
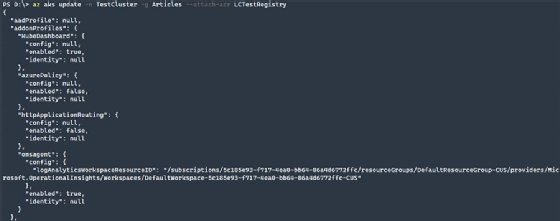
Once you have your Kubernetes cluster, create and attach an ACR registry. Within the portal, navigate to Container registries > Add.
When the container registry is created, the next step will be to connect it to an AKS cluster using the Azure CLI.
Next, you need to add an image to the ACR to make the registry available for use in AKS. First, tag your image in Docker to your registry URI. This informs the docker push command where to send the image.
Since you may want to push a local image to the ACR, you can do so using the docker push command after you have logged into the ACR.
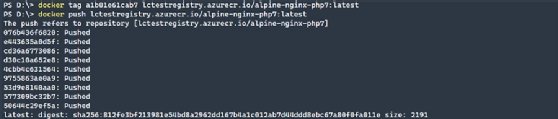
Listing the containers in the repository, you can see that your newly pushed container is now available.

Deploy container to AKS
Before you deploy your container, ensure that you have credentials to AKS. You can do so by using the command below to create the credential configuration. This populates the .kube\config file that informs the kubectl command.
Next, create a simple YAML file that will tell Kubernetes where to get the image and how to deploy.
apiVersion: apps/v1
kind: Deployment
metadata:
  name: alpine-nginx-php7-deployment
  labels:
    app: alpine-nginx-php7-deployment
spec:
  replicas: 1
  selector:
    matchLabels:
      app: alpine-nginx-php7
  template:
    metadata:
      labels:
        app: alpine-nginx-php7
    spec:
      containers:
      - name: alpine-nginx-php7
        image: lctestregistry.azurecr.io/alpine-nginx-php7:latest
        ports:
        - containerPort: 80
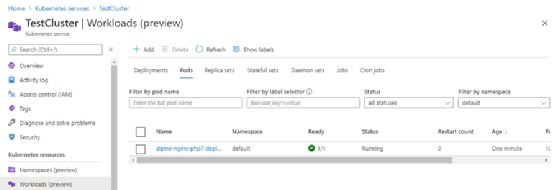
Then, deploy this container using the kubectl command by applying the YAML file that was previously created.

You can now see the container running in the Kubernetes cluster, either by using the kubectl get pods command, as seen above, or in the GUI, as seen below.
Though this is a brief foray in what it takes to containerize legacy applications and deploy them to AKS, it should demonstrate the considerations and steps necessary to make this work. Each application will be different, but with these steps, you can quickly get started with the best approach for a successful deployment.