How to run Docker on an Azure VM
Microsoft Azure offers a lot of container management services for enterprises to choose from. One of those options is Azure Container Instances. Here's how to get started.

Many new IT administrators don't know that Microsoft Azure supports container services out of the box. As a result, admins often create VMs on which to run containers. But this is inefficient, because organizations pay for all the virtual hardware, used or not, and must stand up a new environment and manage it.
Although organizations control the resources in an infrastructure-as-a-service environment, they also pay for all of them. VMs attach a premium over as-a-service offerings, such as container services.
Azure Container Instances (ACI) enables admins to run Docker containers on Azure. Organizations pay by resources consumed per second. Resources include memory, CPU, bandwidth, GPU and disk. The Azure cost calculator can help admins determine potential container costs.
How to deploy an image
To deploy an image, admins can use Azure Cloud Shell, PowerShell and the portal itself, as these methods will all produce the same outcome. In this example, we will stand up a basic container on Azure using Cloud Shell and the portal.
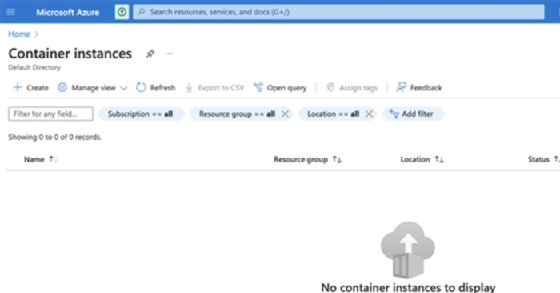
The portal, shown in Figure 1, enables users to save the output as an Azure Resource Manager template to redeploy as necessary.
In the portal, use the search bar to look for container instances or use this direct link. Select Create to start the container wizard. Then select the Container instances blade instead of Container apps. Though it relates, it is a different item altogether.
The initial options, such as container name, region and resource group, should be familiar to Azure users and filled in as such, as shown in Figure 2. It's recommended to use a new resource group for this example.
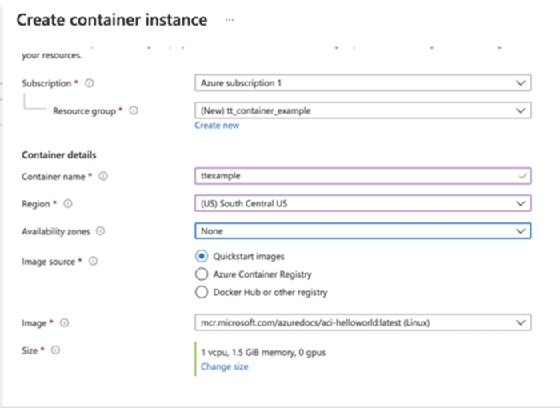
Azure supports several different container registries, as seen in the wizard's container details. ACI can pull in and run Docker images both in use and stored in alternative registries.
Depending on the selected registry, there are different Docker image options to select. Alternative or personal registries require configuration to enable.
For simplicity, we are using the Windows registry hello image, which is a static "hello world" webpage. Other available quick-start examples include a containerized Nginx web server or a Windows container. However, not many admins use Windows containers because of speed and size -- and the majority of container systems use Linux.
The Sizing tab enables users to specify the maximum resource amount the container can consume. To change this, click on the Change size hyperlink and select a more relevant -- and costly -- size. Ignore the other options, such as sizing and GPU, for this tutorial, as GPU is not available in all regions at the time of publication.
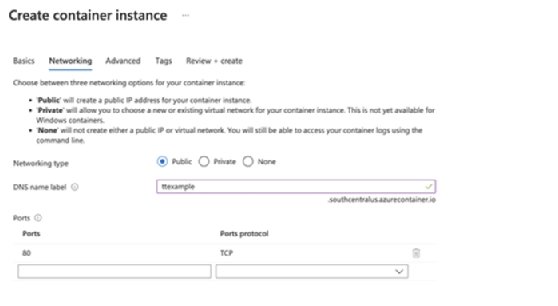
On the Networking tab, shown in Figure 3, select which ports to expose. The default configuration exposes the container directly to the internet. Change the network type to private for internal exposure on the Azure subnets.
The DNS name label tag asks for a host name to publish to. This will create the DNS entry for the app. Admins can also use Azure Cloud Shell to achieve the same outcome. To launch a container, use the following code.
New-AzContainerGroup -ResourceGroupName MyContainerProject -Name FirstAppInstance -Image mcr.microsoft.com/azuredocs/aci-helloworld -DnsNameLabel ttexample
The above code in Cloud Shell creates a new MyContainerProject resource group and a FirstAppInstance container. The image parameter will use the "hello world" image to demonstrate a live container.
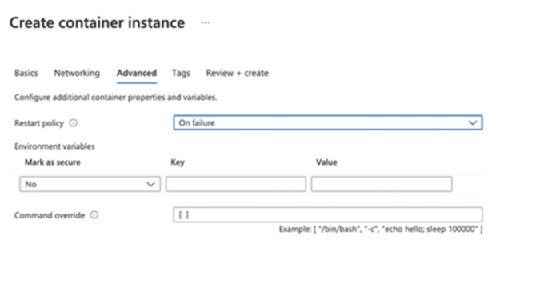
Set restart policy
The Advanced tab contains the restart policy, which dictates -- as it does in Docker -- what happens when a container stops. Admins can program it to do nothing, restart or restart on failure, as shown in Figure 4.
There is often a need for persistent storage for containers. For example, admins use persistent storage if they want to host images from a web server.
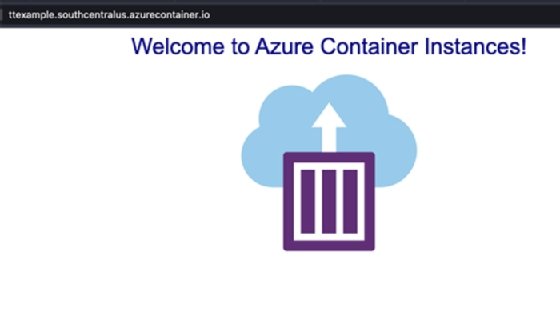
If configured correctly, users should see the example container stood up similar to the one in Figure 5.